
EXPLORE SAKE BY TOPIC
Brewing
& ingredients
From a grain of rice
to the sake in your glass.
Follow how sake is made, meet the ingredients doing the work, and discover how decisions in the brewery change what you taste.
Follow the process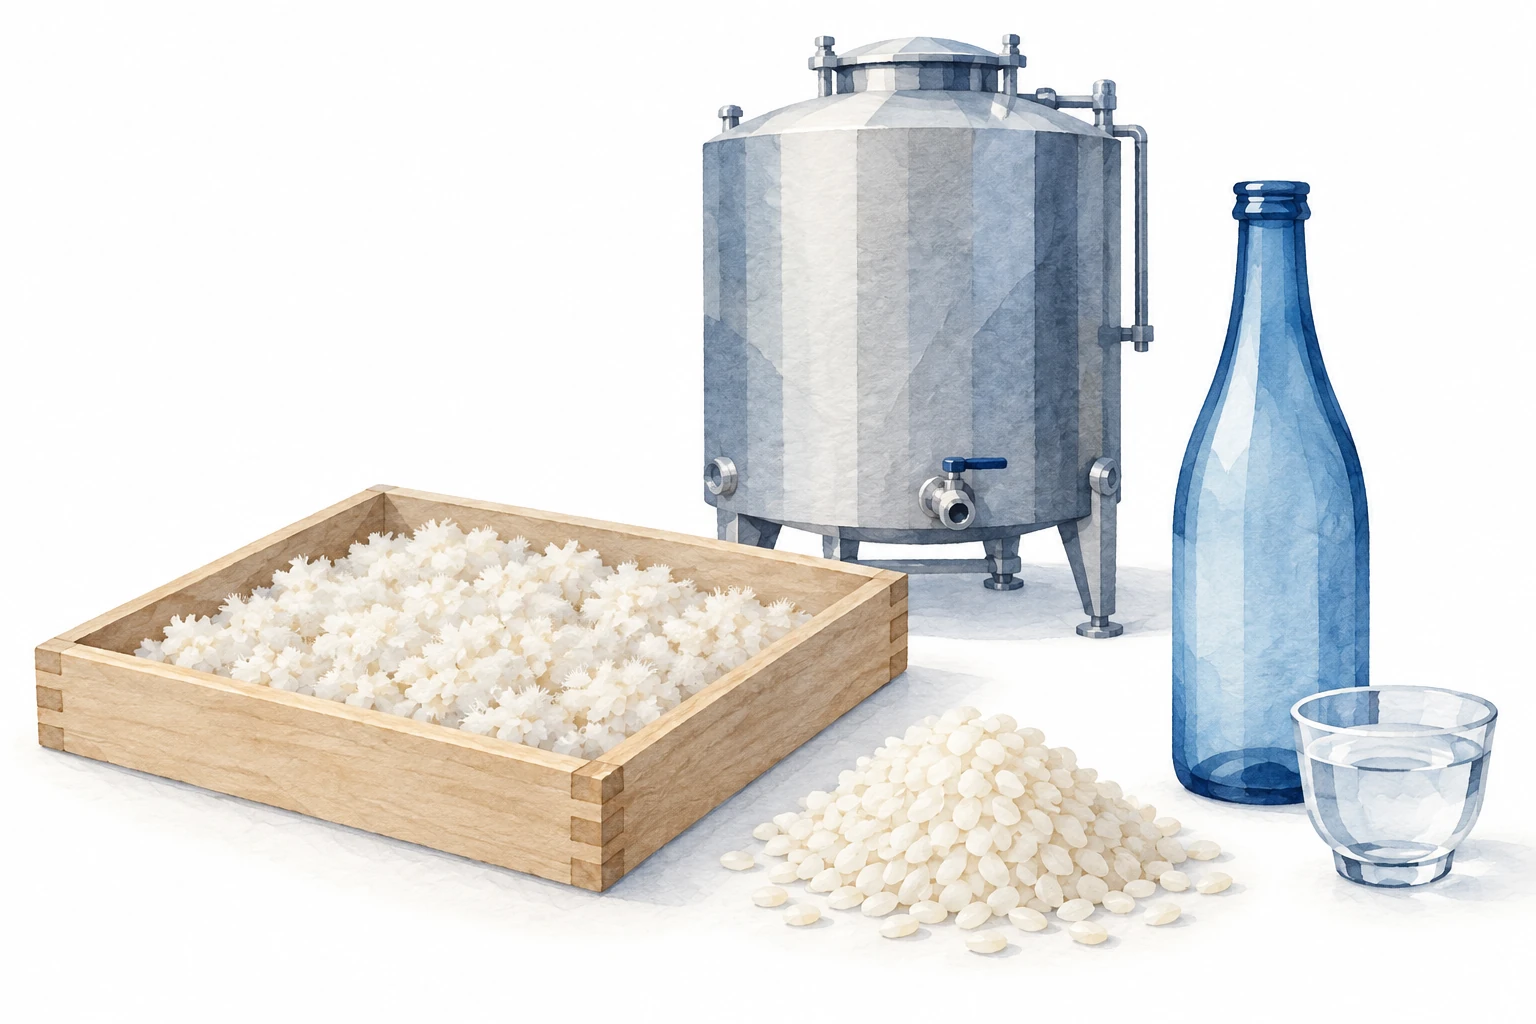
THE JOURNEY IN A MINUTE
How is sake made?
Sake is brewed from rice. Koji supplies enzymes that turn rice starch into sugar, and yeast turns that sugar into alcohol.
Those two jobs overlap in the main fermentation tank. After fermentation, the brewer separates the liquid from the rice solids and decides how to finish it for the bottle. Sake is fermented, rather than distilled.
STEP 1 OF 10
Polish the rice
Remove some of the outer grain. The polishing ratio tells you how much rice weight remains.
Read about rice preparation ↓Overview: JSS: How sake is made. Expanded from WhatSake’s original brewing article.
FOUR ROLES TO REMEMBER
What is sake made of?
You’ll often hear “rice, water, koji and yeast”. Think of these as the brewing team: each has a different job.
Rice
Rice provides starch. Brewers can use dedicated sake rice or table rice; varieties such as Yamadanishiki are selected for how they behave during brewing.
Remember: rice supplies the starting material.
Water
Water is used in preparation, fermentation and often the final adjustment. Its minerals affect the brewing process, but “soft” or “hard” water alone won’t tell you how a bottle tastes.
Remember: water supports the whole journey.
Koji
Koji is steamed rice cultivated with the mould Aspergillus oryzae. It provides the enzymes that make the rice’s starch available as fermentable sugar.
Remember: koji unlocks the rice.
Yeast
Yeast consumes sugar, producing alcohol and carbon dioxide. It also contributes to aroma, so the choice of yeast is one part of the brewer’s flavour design.
Remember: yeast makes the alcohol.
Why do some labels list brewing alcohol?
Some sake includes neutral brewing alcohol added before pressing. Junmai categories don’t use this addition. It is a brewing choice, not an automatic quality ranking; our category comparison explains the names.
References: JSS: Ingredients and their roles · JSS: Rice and brewing alcohol.
FOLLOW RICE TO THE BOTTLE
The sake brewing pathway
Follow the numbered stops. Open a little more detail wherever you’re curious.
This is an overview of the journey. Some jobs happen alongside each other, and finishing choices vary by brewery.
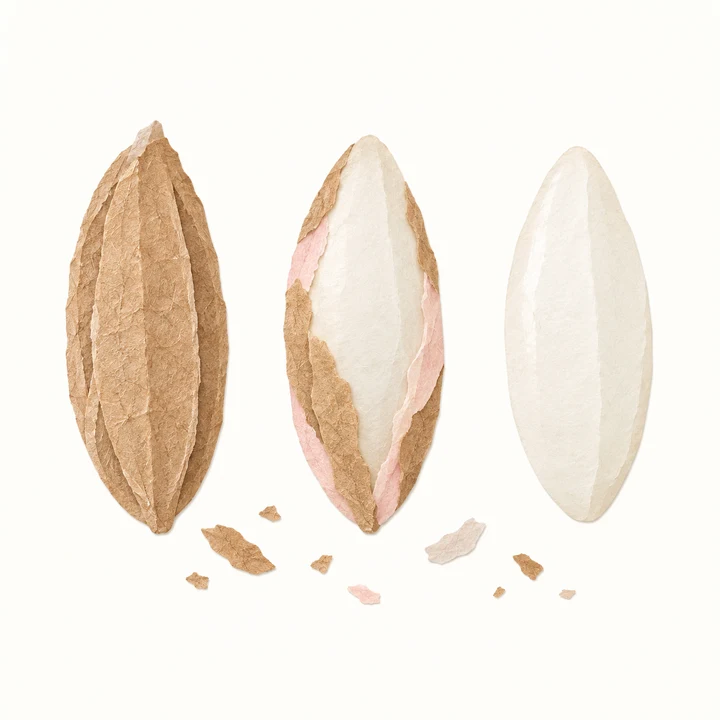
Remove the outer layers. STEP 01
Polish the rice
Polishing removes some of the outer grain, where more protein and fat are found. It gives the brewer a different starting point for the flavour they want.
60% polishing ratio = 60% of the original weight remains. A smaller number means more has been removed.
Explore the polishing ratio
REMAINS60%REMOVED40%From 100 g of brown rice, a 60% polishing ratio leaves 60 g for brewing and removes 40 g. This bar shows weight, not the shape or diameter of a grain.
More polished ≠ betterPolishing is one clue about production, rather than a score for quality. Rice variety, koji, yeast and the brewer’s decisions also shape the result.
Reference: JSS: Polishing and quality.
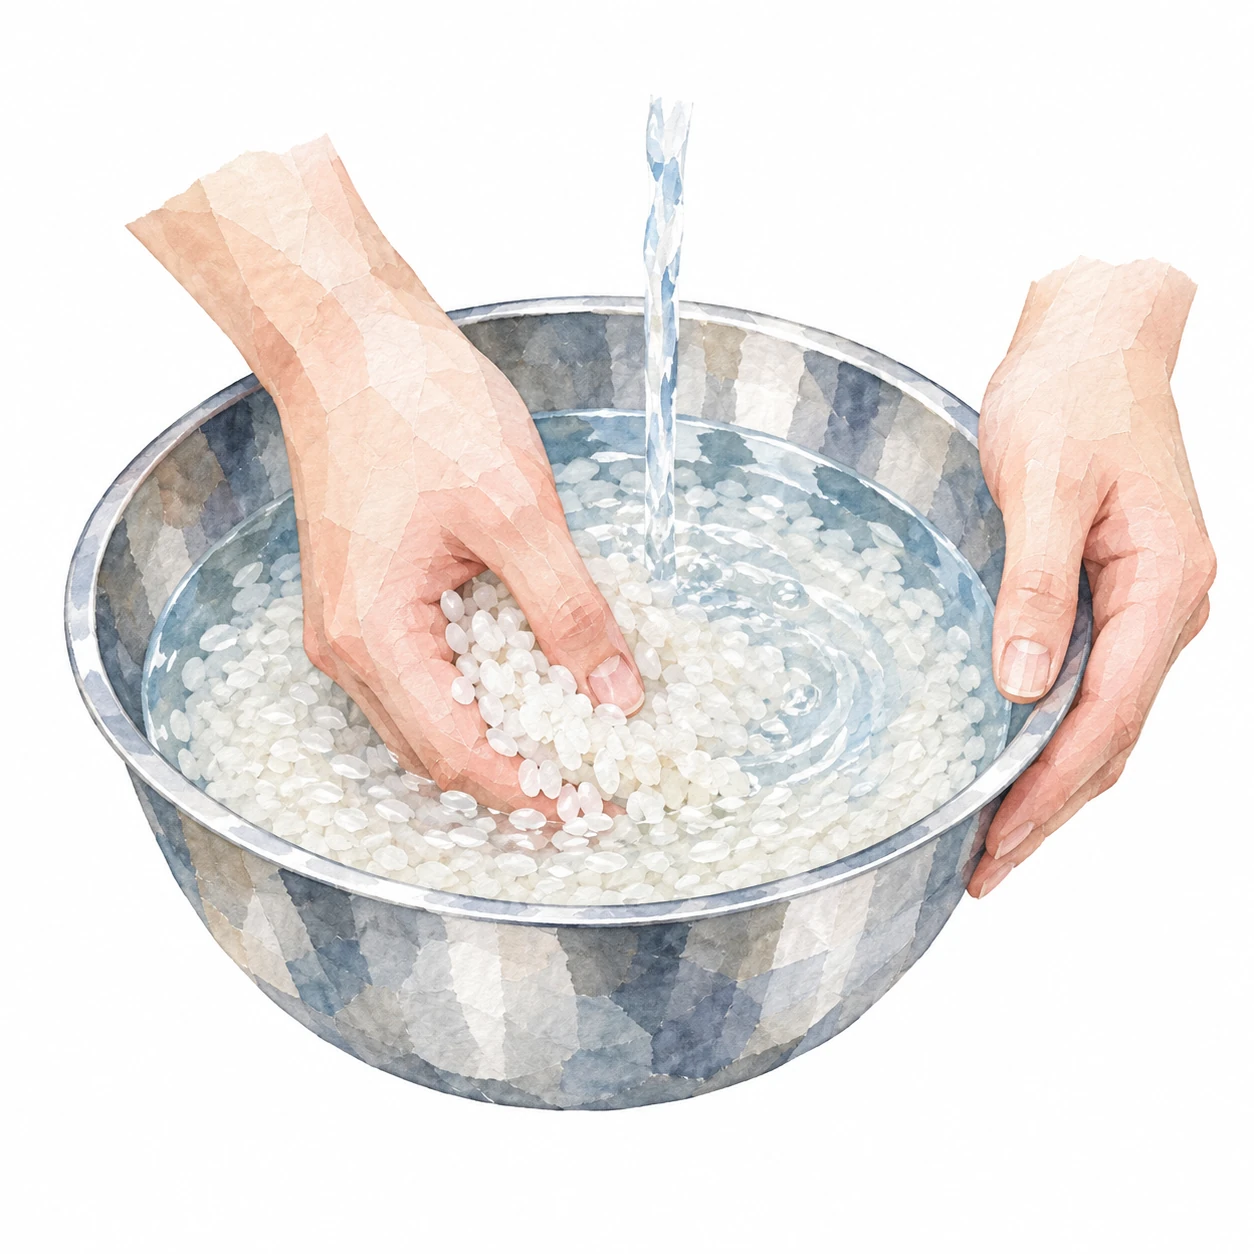
Rinse away the polishing powder. STEP 02
Wash the rice
The polished rice is washed to remove the powder left on its surface.
It looks familiar, but this is preparation for brewing: the condition of the rice matters for the steps that follow.
Reference: NRIB: Washing rice.
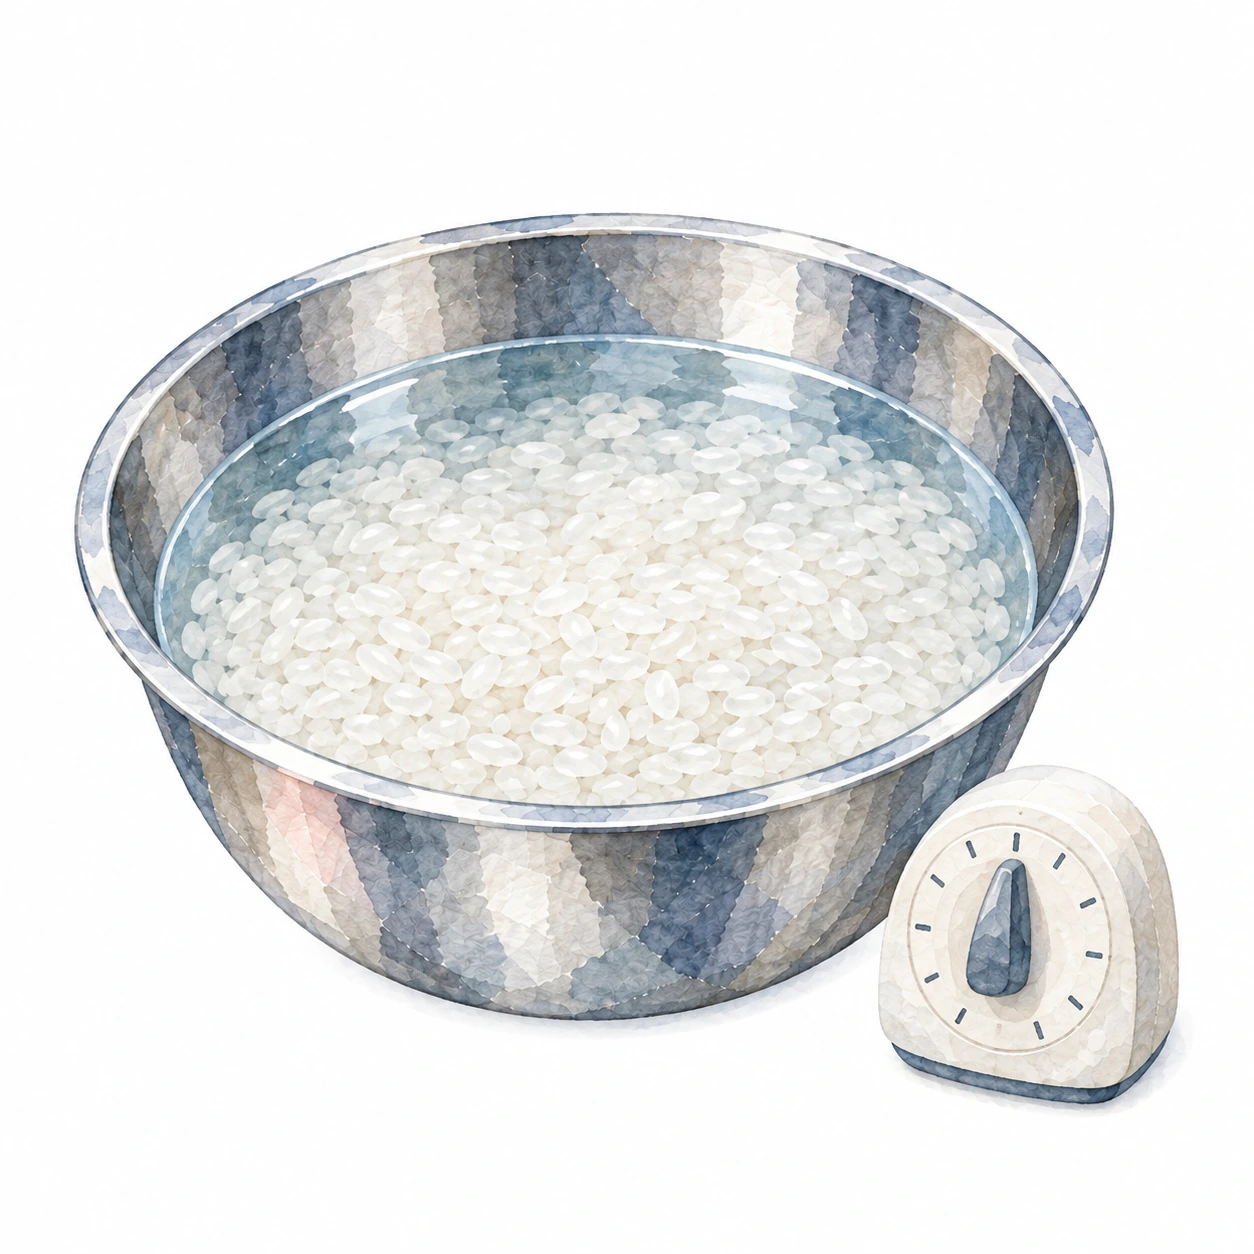
Control the water the rice absorbs. STEP 03
Soak the rice
The washed rice absorbs water. The brewer controls this absorption so the rice is ready to steam.
The aim is the right moisture, rather than simply a long soak.
Why separate washing from soaking?
Washing removes the powder. Soaking controls water absorption. They happen close together, but they have different jobs.
Reference: NRIB: Rice preparation.
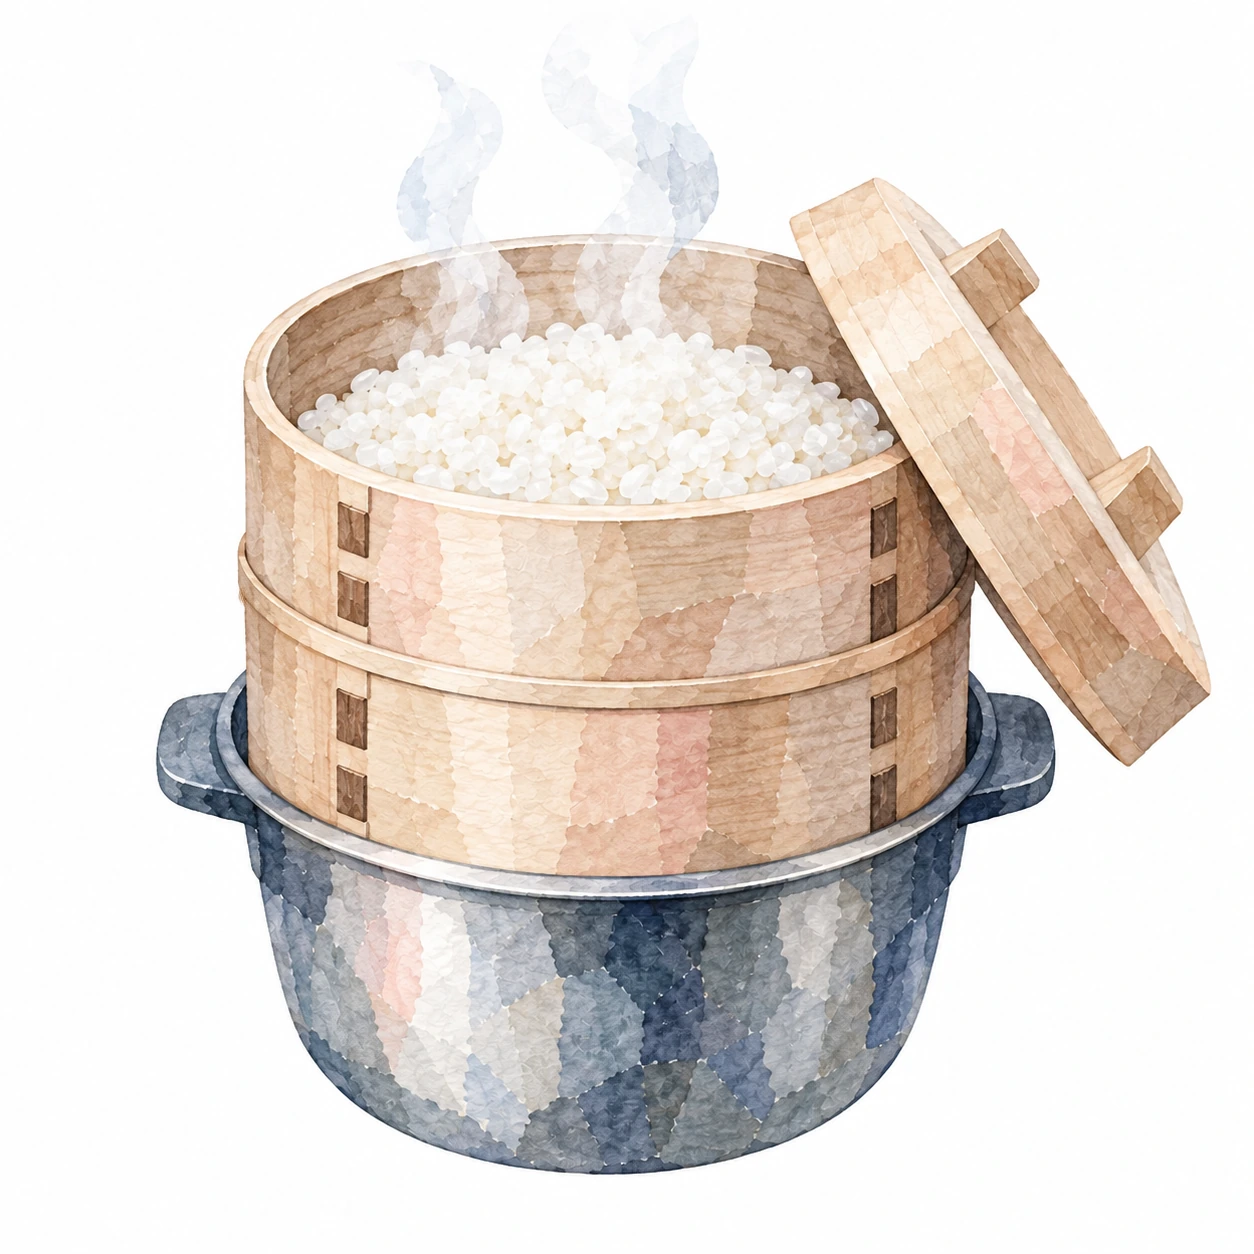
Steam the rice for its next job. STEP 04
Steam the rice
The rice is steamed, then cooled for its next job. Steaming prepares it for koji making and the fermentation mash.
From here, the rice takes different paths: some becomes koji, while other portions feed the starter and main mash.
Reference: NRIB: Steaming.
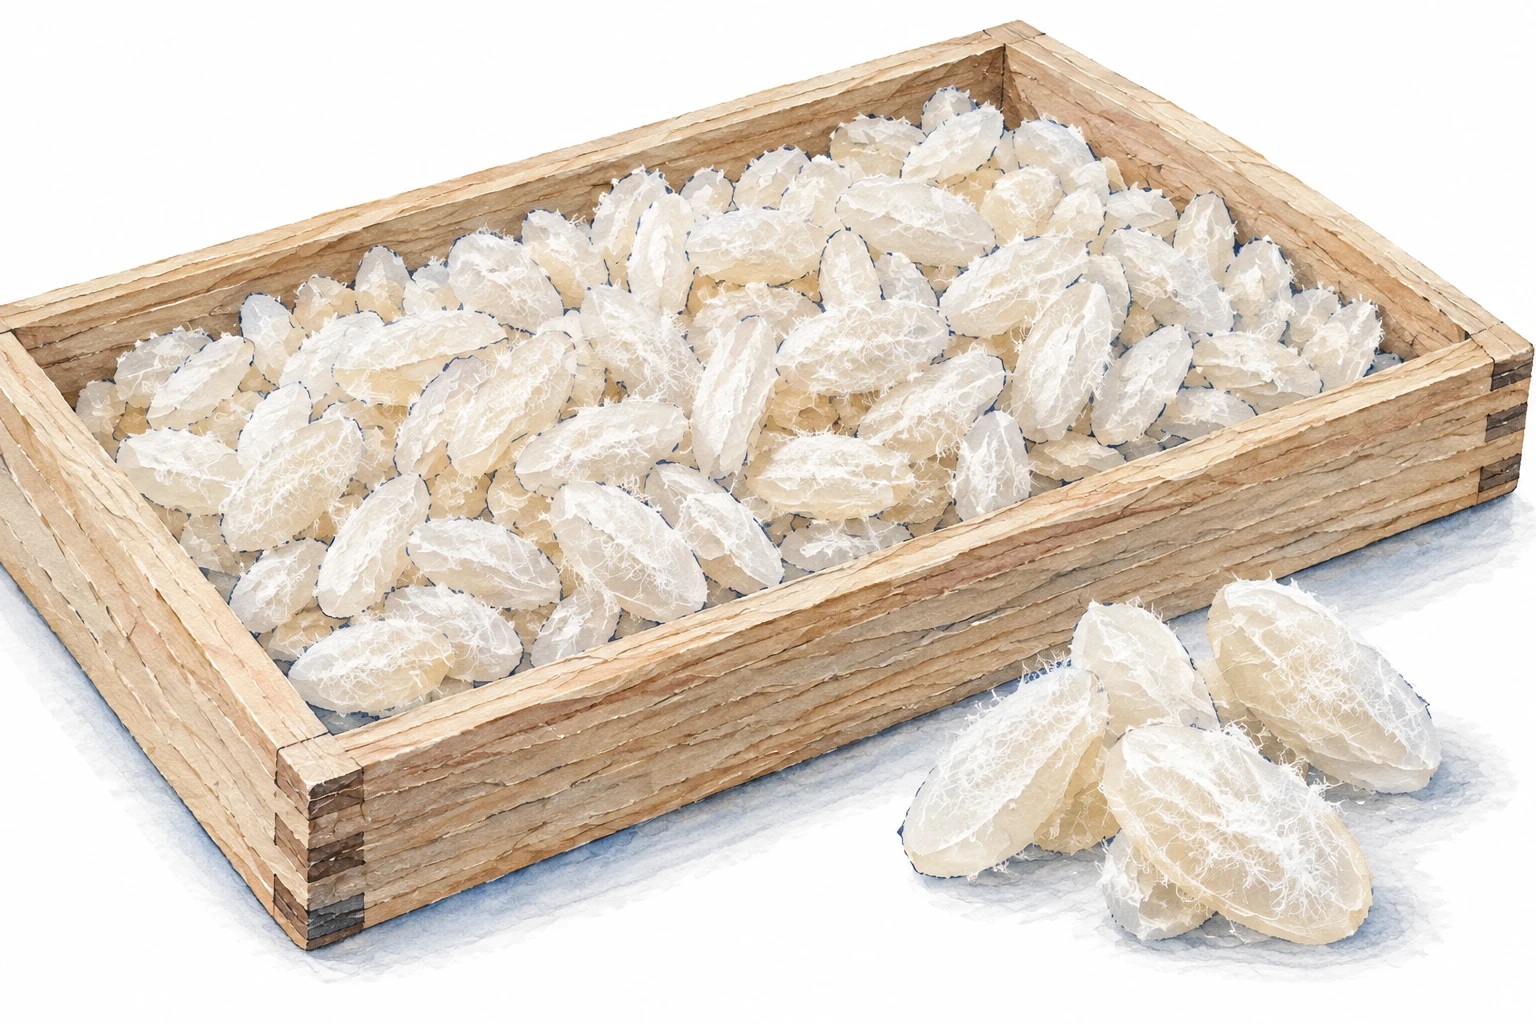
Koji unlocks the rice starch. STEP 05
Make koji
Brewers cultivate Aspergillus oryzae on a portion of the steamed rice in a controlled room, usually over about two days.
Koji supplies enzymes that turn starch into sugar. Think of it as preparing food for the yeast.
See how koji and yeast work together
Rice starchThe starting materialKoji enzymesSugarFood for the yeastYeastAlcohol + CO₂The products of fermentationIn the main mash, starch breakdown and alcoholic fermentation overlap. This is multiple parallel fermentation: sugar is being made while yeast uses it.
Reference: NRIB: Koji making.
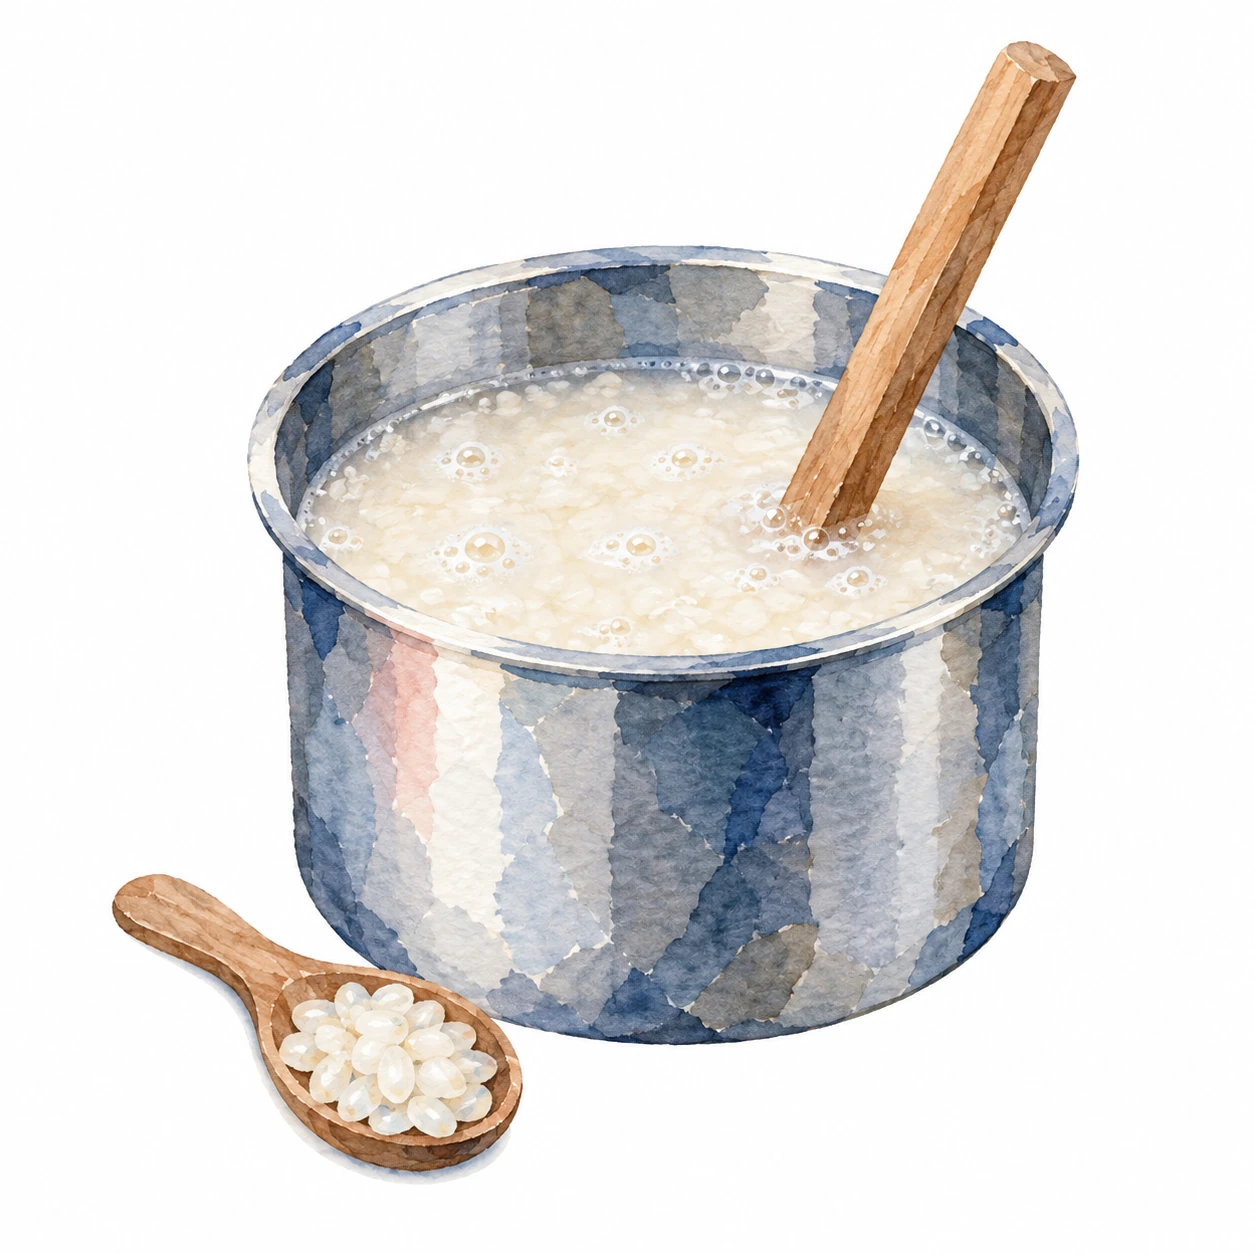
A small starter before the big tank. STEP 06
Build the yeast starter
The shubo, also called moto, establishes a healthy yeast population before the main fermentation.
An acidic environment helps protect this small starter from unwanted microbes.
Compare Sokujo, Kimoto and Yamahai
Sokujo
Lactic acid addedThe brewer adds lactic acid to create the acidic environment for the starter.
Kimoto & Yamahai
Acidity develops through bacteriaThese methods use lactic acid bacteria. Yamahai omits the traditional rice-mashing step used in Kimoto.
These are starter methods. They can give you clues on a label, but they don’t promise a fixed flavour.
Reference: NRIB: Starter methods.
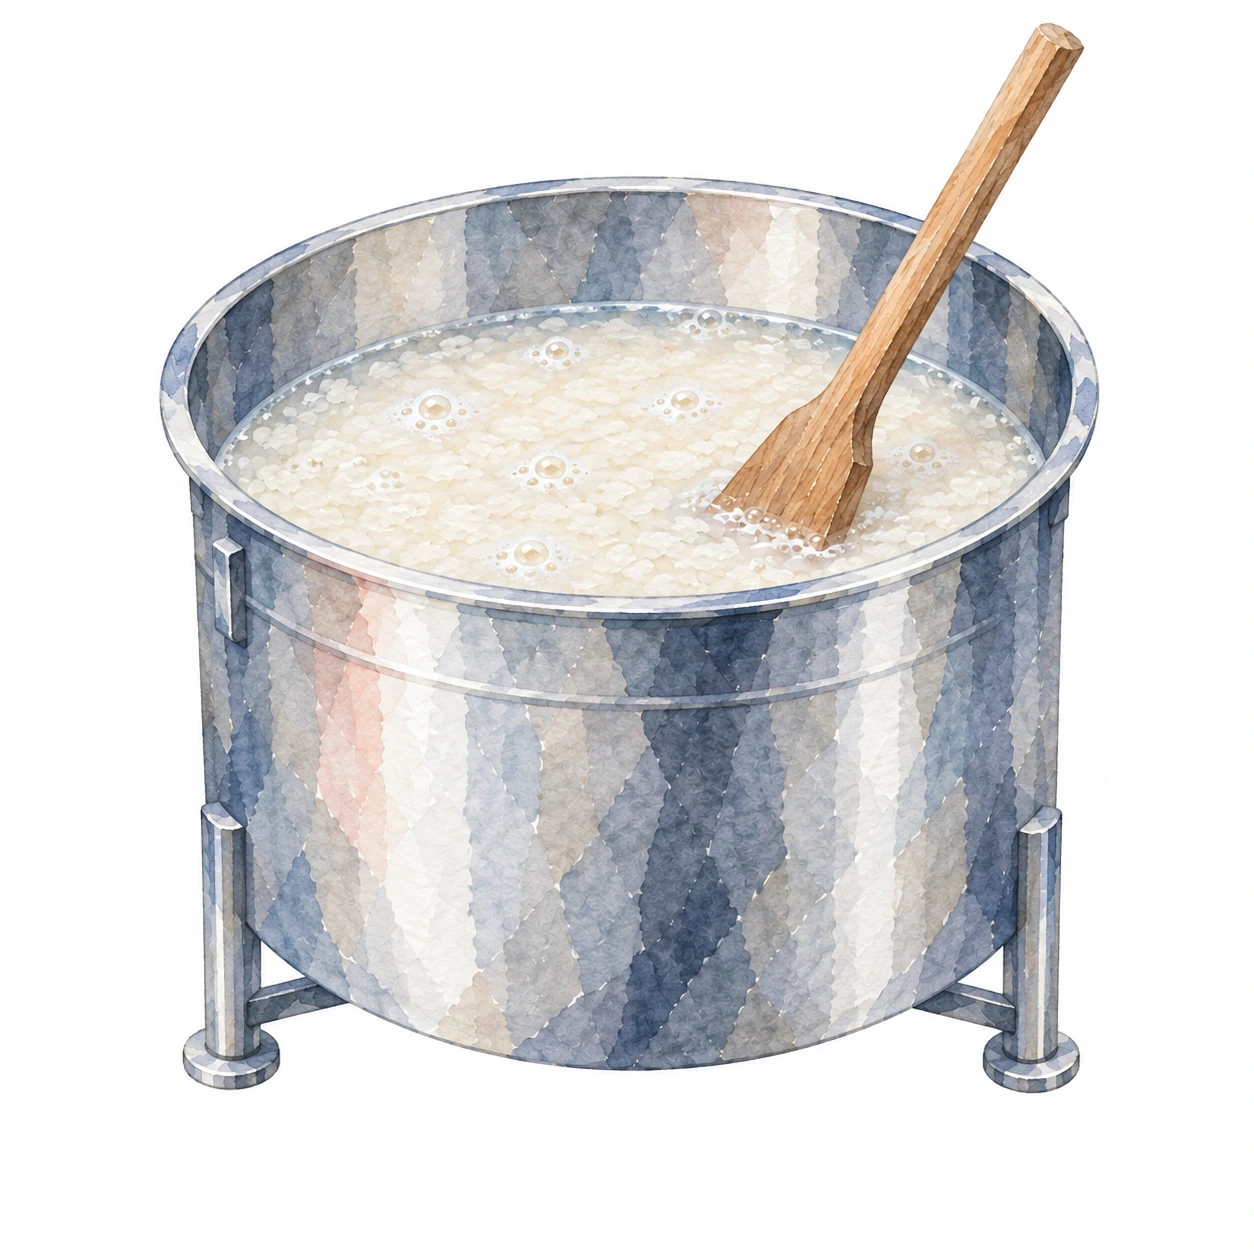
Rice, koji, water and starter come together. STEP 07
Ferment the main mash
The main mash, or moromi, brings the ingredients together in a larger tank. Koji enzymes release sugar while yeast converts it into alcohol and carbon dioxide.
Temperature, time and yeast choice help shape the result. The brewer watches the fermentation develop, rather than relying on one timer.
See the three additions across four days
A common method, sandan-jikomi, builds the mash gradually.
- DAY 1
First addition
Begin building the main mash.
- DAY 2
A pause
Give the yeast population time to grow.
- DAY 3
Second addition
Increase the mash gradually.
- DAY 4
Third addition
Complete the staged additions.
Four days isn’t the whole fermentationThis is the schedule for building the mash. Fermentation continues afterwards.
Reference: JSS: Moromi and Sandan-jikomi.
- DAY 1
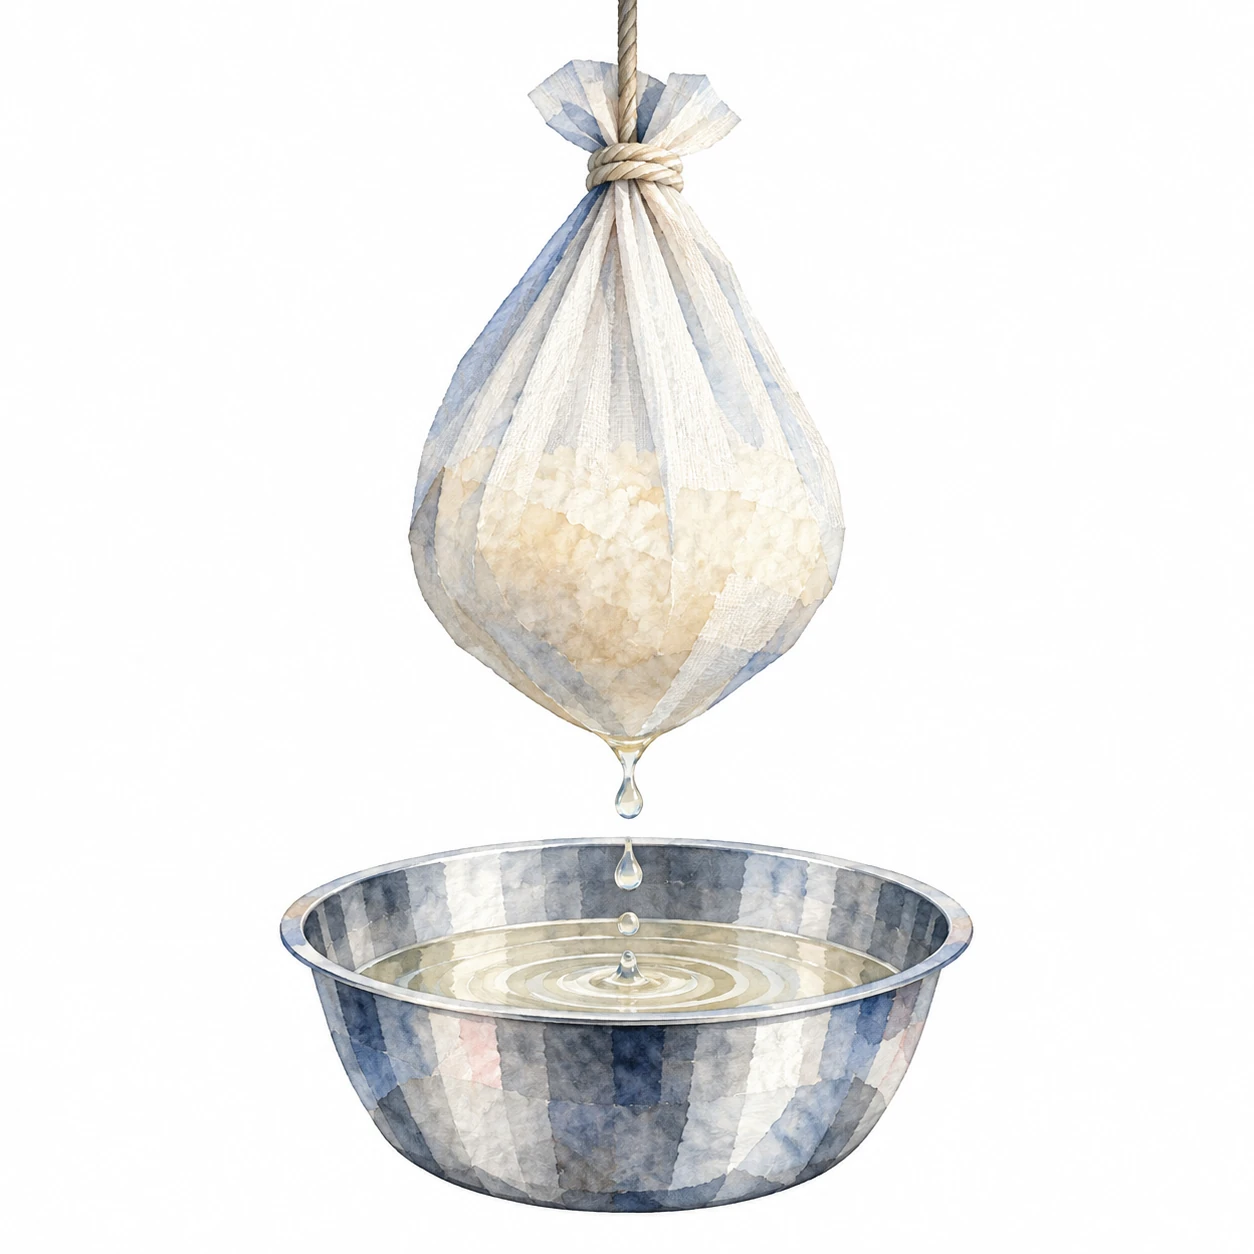
One illustrated route: drip separation. STEP 08
Separate the sake from the solids
The fermented mash still contains rice solids. Pressing or straining separates liquid sake from the remaining lees, called sake kasu.
Breweries may use machines, bags or slow dripping. The illustration shows one of these methods.
Liquid sake
The liquid continues towards settling, finishing and bottling.
Sake kasu
The separated solids are a brewing by-product used in foods and cooking.
So why is Nigori cloudy?
Nigori passes through a coarser separation that allows some rice solids into the liquid. The amount varies. Cloudiness doesn’t tell you whether it is sweet or whether it has been pasteurised.
Reference: JSS: Pressing methods and sake kasu.
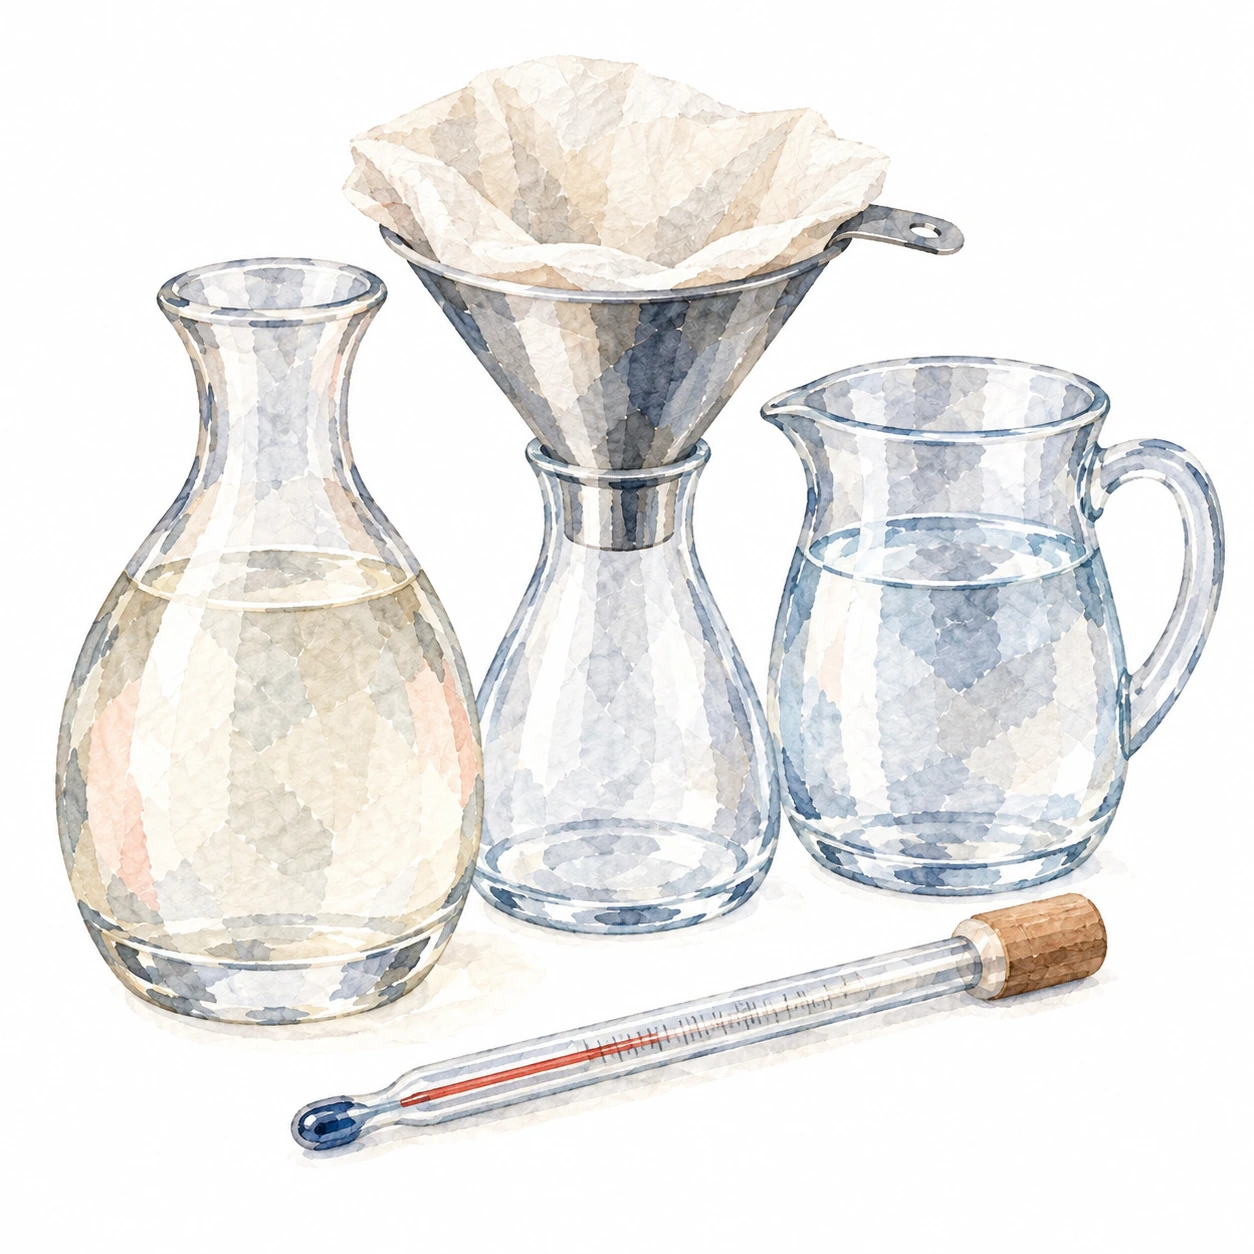
Possible treatments before release. STEP 09
Choose the finishing steps
After pressing, the brewer decides how to finish the sake. The order and combination of these treatments vary.
These are possible branches, rather than four compulsory steps.
CLARITY & FLAVOUR Settle or filter
Further treatment can refine the liquid. Muroka describes sake without secondary filtration, often referring to charcoal treatment; it has still been separated from the mash.
Label clue · MurokaSTABILITY Pasteurise
Heating, called hi-ire, helps stabilise sake and deactivate enzymes. Namazake skips pasteurisation. Follow its storage instructions and keep it refrigerated.
Label clue · NamaALCOHOL STRENGTH Adjust with water
Water is often added to bring the sake to the intended strength. Genshu indicates sake without this dilution; check the ABV rather than assuming one strength.
Label clue · GenshuTIME & DEVELOPMENT Rest or mature
Some sake rests before release; other sake is deliberately aged. Koshu is an aged-sake clue. Use the bottle’s tasting notes to learn what its maturation has produced.
Label clue · KoshuRead “Muroka Nama Genshu” as three decisions
Muroka concerns secondary filtration, Nama concerns pasteurisation, and Genshu concerns dilution. These words can appear together because they describe different choices.
Explore the types and styles guide for a full comparison.
Reference: JSS: Production and label terms.
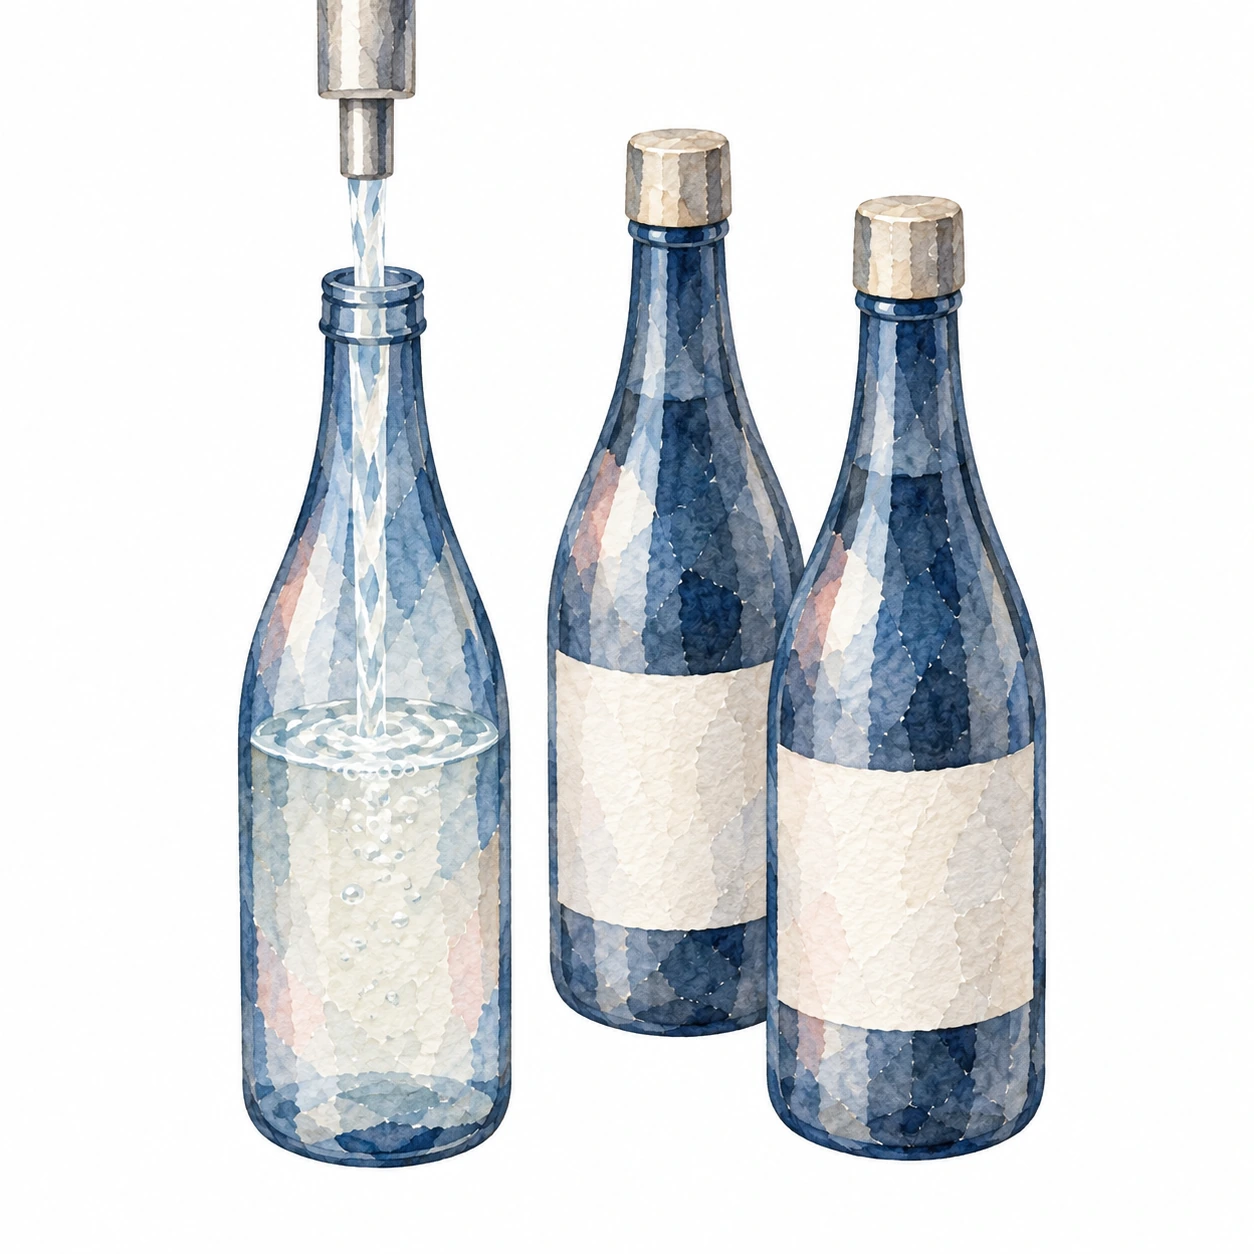
The finished sake is ready for release. STEP 10
Bottle the sake
The finished sake is bottled for release. Its label, alcohol strength and storage advice help you understand what the brewer has made.
The toji and brewery team have guided the journey—from rice preparation through fermentation to the finished sake.
Read one detail. Notice one thing.Pick a brewing clue on your next bottle and connect it to your tasting note: its aroma, texture or finish.
Reference: JSS: Toji and brewing terms.
THE QUESTIONS THAT COME UP
Sake brewing questions
Is sake distilled like shochu?
No. Sake gets its alcohol through fermentation. Shochu is a distilled drink. The presence of brewing alcohol in some sake doesn’t turn the sake-making process into distillation.
Does sake need special rice?
Dedicated sake rice is common, but table rice can also be used. The rice is one part of the brewer’s choices, so a famous rice variety alone doesn’t guarantee a particular taste.
How long does sake take to make?
Think in weeks for fermentation, with preparation and finishing around it. Resting or longer ageing adds time before release. There isn’t one rice-to-shop schedule for every sake.
Is a 50% polishing ratio half the rice removed?
Yes—by weight. Half remains and half has been polished away. At a 70% ratio, 70% remains and 30% has been removed.
Are koji and yeast the same thing?
No. Koji supplies starch-breaking enzymes. Yeast ferments the resulting sugars into alcohol and carbon dioxide. They do different jobs in the same brewing process.
Are Nama, Nigori and Genshu interchangeable?
No. Nama concerns pasteurisation; Nigori concerns retained solids and cloudiness; Genshu concerns dilution. A sake can combine these descriptions. Read each word separately.
Further reading: JSS: Sake questions · JSS: Brewing vocabulary.